
installation instructions
Now install your accessories and improve your Tesla.
installation instructions
Here you will find installation instructions for our products. If you have any questions, you can contact us at any time.
Ambient lighting
To install the LED lights, the originals must first be removed. It is best to use a large slotted screwdriver or a wide knife for this. With one of the two you lever out the original light. To simplify the process, it is a good idea to loosen the single screw on the driver's side. After the original light has been detached, the plug is now disconnected and the new light is plugged in. Now you can push the socket back in. The installation is complete.
Hanger for the trunk Model 3
There is a longer, protruding screw in the upper right part of the trunk. The hook is screwed onto this screw. You're done.
Hanger for the Model Y trunk
Check the position of the hanger using the product image. The tick is clicked there. You're done.
screen protector
Open the pack and clean the screen with the included wipes. Fix the glass with the enclosed stickers and press the glass from the center outwards. You're done.
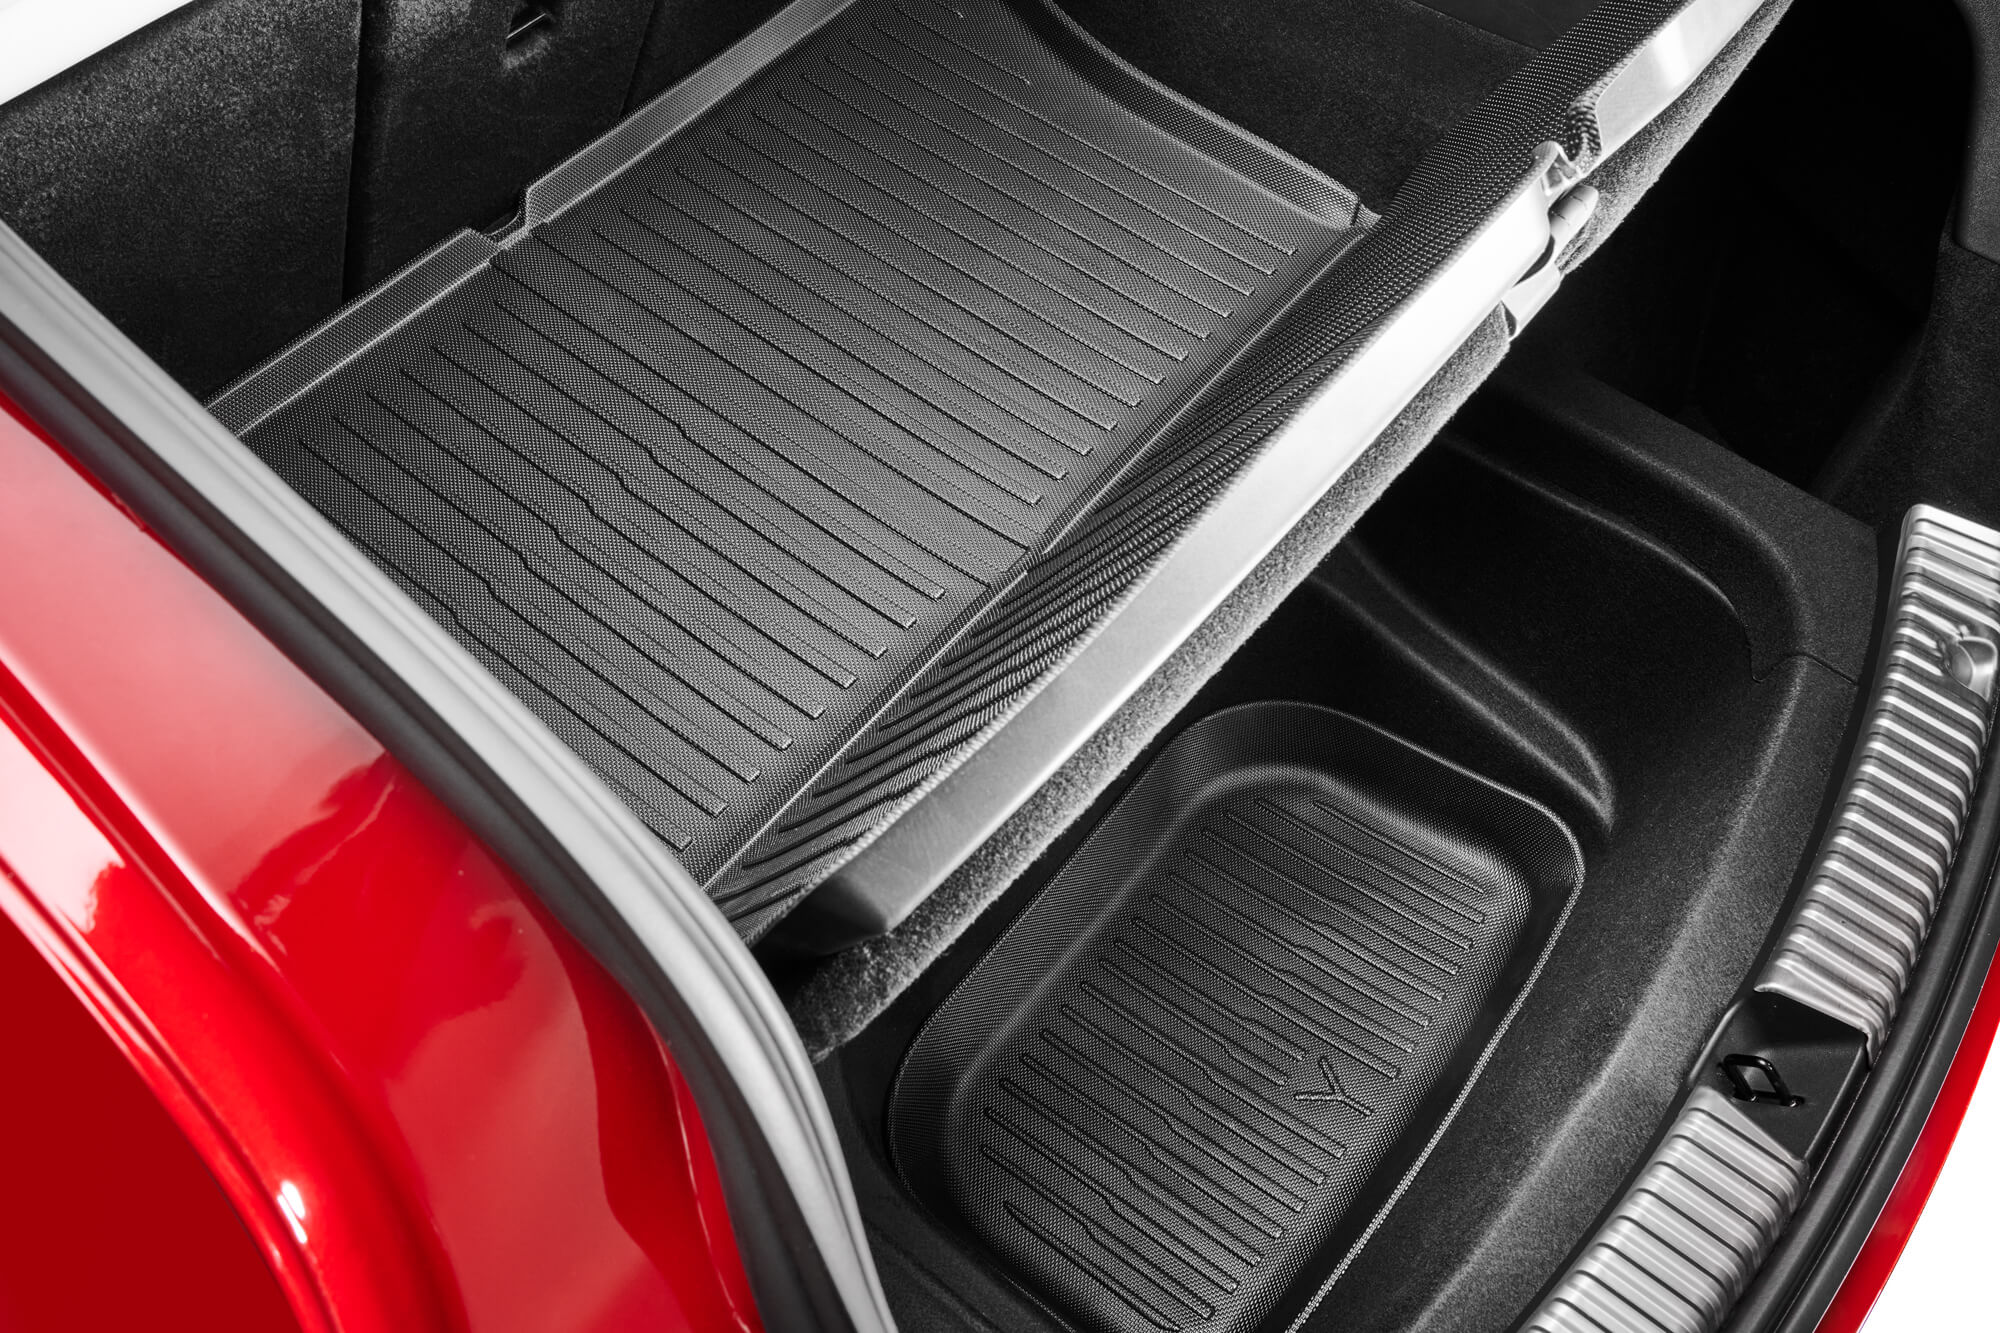
trunk protective panel
Peel off the protective film on the bezel. Now you pull off the film on the double-sided adhesive tape. Align the panel so that it is flush with the middle and now press it on. The installation is complete.
performance pedals
Pull off the stock pedals with a twisting motion. Note the orientation of the individual pedals beforehand. Now you can put on the performance pedals. To do this, pull the rubber lips on the back to the side. It is a good idea to heat them up slightly beforehand and bend them a few times. This simplifies the installation significantly.
T logo door projector
To install the projector, the originals must first be removed from the doors. Use a large flathead screwdriver or a wide knife to do this. Use one of the two to carefully pry out the original lamp. Now carefully unplug the connector and connect the projector. Make sure that the cable does not slip into the door panel and that the projection is correctly oriented. Now you can push the projector back into the casing. You're done.
Door Lock Cover
Clean the area around the door lock. Now peel off the double-sided tape and press the cover onto the door lock. The installation is complete.
wheel caps
It is best to pull the original hubcap off the rim with both hands. This requires a lot of strength. Once the hubcap has been successfully removed, the new cover is simply clicked on. You're done.
TESLA lettering
In order to align the lettering in the middle, you should first mark the middle of the original logo with painter's tape. The "S" of the lettering must later be positioned exactly in the middle. In order to install the lettering in a horizontal position, it helps to stick a straight line from left to right with painter's tape. The lettering is then aligned to this. When removing the original logo, you should heat it up (no heat gun because of the paint) and then use an adhesive residue remover to clean everything properly.
PPF protection for door handles
Before the installation can start, the area around the door handles must be cleaned extensively. After cleaning, please fill the two supplied spray bottles with water. Now you can start, spray the area around the door handle, your hands and the foil from both sides with the slip solution (bottle with sticker). Now align the foil to the door handle and start to squeegee the liquid from the middle outwards with the squeegee. If the squeegee no longer slips over the film, spray more slip solution. The same applies if the film has to be realigned again. To do this, spray slip solution again under the film. If the corners don't hold up properly, spray the tack solution in this area. This ensures stronger adhesion of the foil. Run the squeegee over the film until all the bubbles are gone and the film is no longer sticking out. Then let the film dry for 24 hours. If you have any questions, you can write to me at any time.
Immerse yourself in our world
Subscribe to our newsletter and receive a 10% discount code.